Schedule Mapper: Finding Precise Time Slots
Match users’ availability within specific date ranges and time slots.
Evallo’s Schedule Mapper is the perfect tool for pinpointing availability across specific dates and time slots. Whether you’re planning a recurring session, coordinating between multiple users, or managing consultations, Schedule Mapper helps you match availability with ease. Let’s explore how to use it step by step.
Schedule Mapper: Finding Precise Time Slots
What is Schedule Mapper?
Schedule Mapper is a powerful scheduling tool that allows you to "map" multiple users' availabilities to schedule events between them. The process is quite simple and intuitive:
Select a specific date range (e.g., January 1st–January 15th).
Define a time slot (e.g., 10:00 AM–12:00 PM).
Identify which users—tutors, students, parents, or admins—are available during that time frame.
The tool simplifies complex scheduling scenarios, saving you hours of manual coordination.
How to Use Schedule Mapper
Follow these steps to use Schedule Mapper effectively:
Open Schedule Mapper:
From the sidebar, click on Schedule Mapper.
A pop-up window will appear, prompting you to enter the date range and time slot.
Set the Date Range
Use the mini-calendar to select the start and end dates for your search.
Example: January 1st to January 15th.
Define the Time Slot:
Choose a time range (e.g., 10:00 AM–12:00 PM).
The tool will only display users available during this window.
Select a Time Zone:
Use the dropdown to set the correct time zone for the session.
View Available Users:
Once the parameters are set, Schedule Mapper generates two lists:
Team Members: Displays tutors and admins, along with their profile pictures.
Students: Lists all available students, also with profile pictures.
Schedule an Event:
Select the desired users from the lists.
Click Schedule Event to fill in the event details and schedule it.
A Step-by-Step Example
Let’s say you’re organizing a consultation between a tutor, a student, and their parent. Here’s how Schedule Mapper makes it easy:
Open Schedule Mapper from the sidebar.
Set the date range to January 10th–January 12th and the time slot to 4:00 PM–6:00 PM.
Select the time zone.
Review the generated lists:
The Team Members list shows available tutors.The Students list shows available students.
Choose the participants (e.g., Tutor: Alex, Student: Mia).
Click Schedule Event to create the session on the Event Details page.
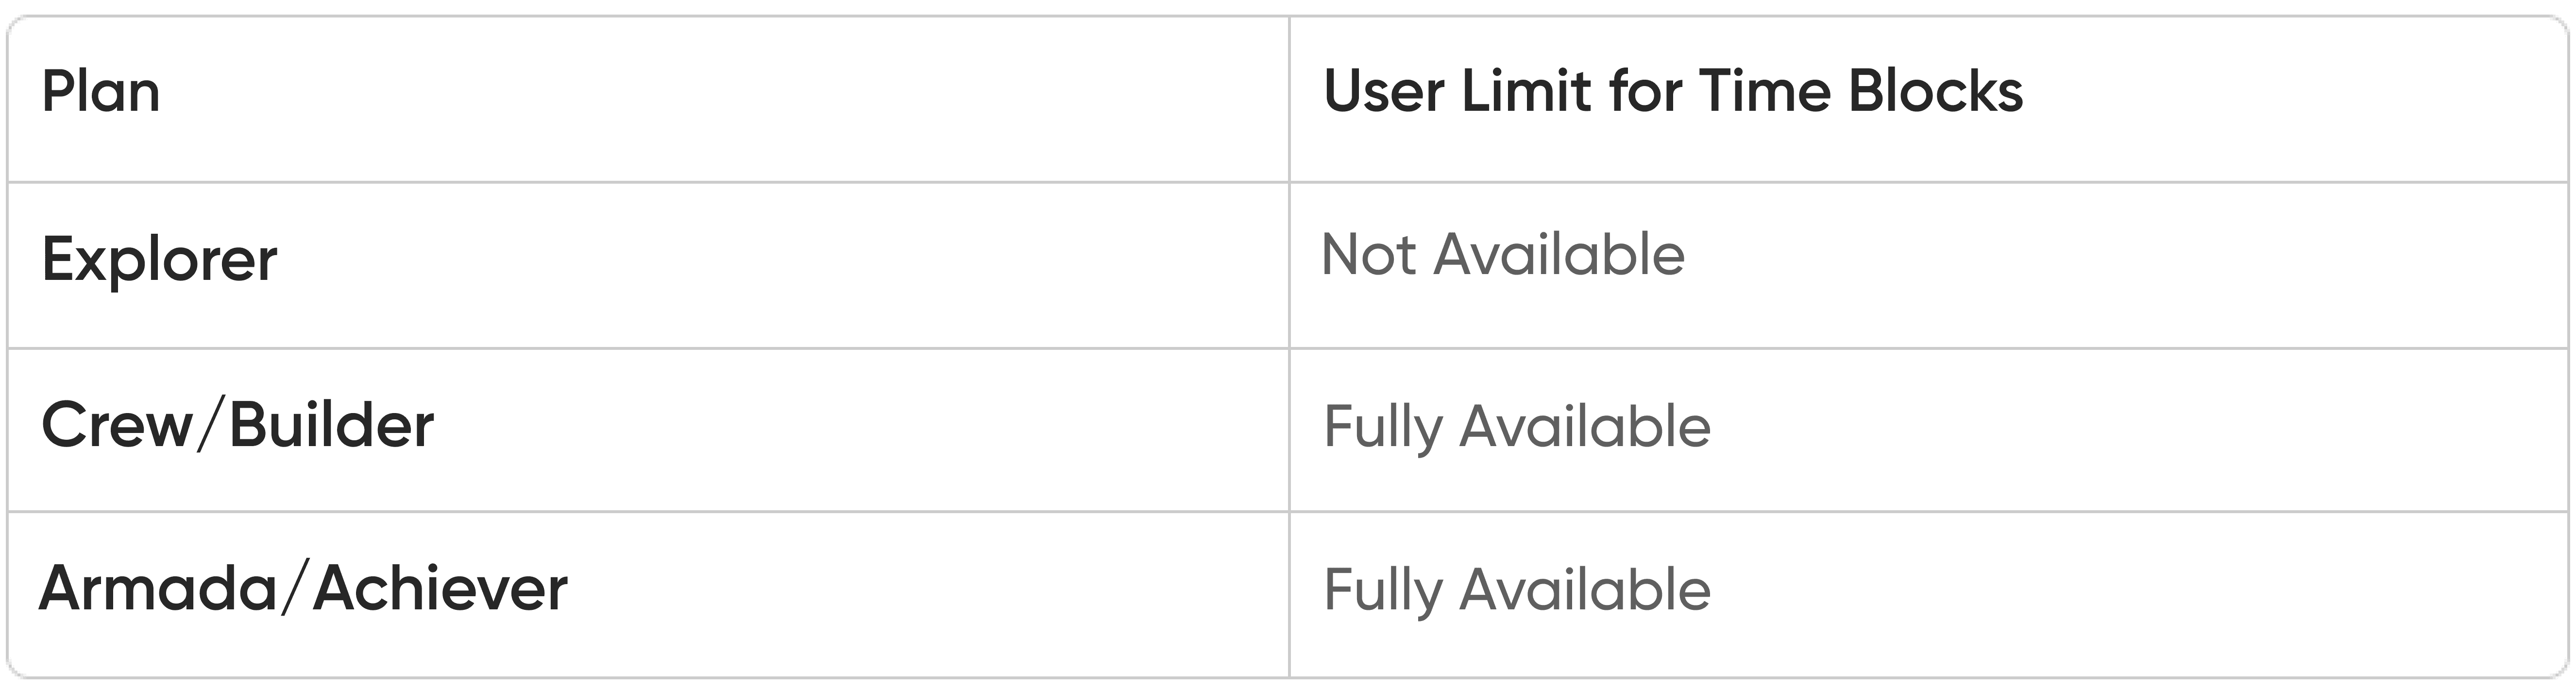
Subscription Plan Limitations
The availability of Schedule Mapper depends on your subscription plan:
Best Practices for Using Schedule Mapper
Narrow Down the Date Range: Use shorter date ranges (e.g., one week) to get precise results.
Verify Availability: Ensure all participants have updated their working hours and time off.
Pair with Time Blocks: Use Time Blocks for a visual overview before switching to Schedule Mapper for exact time slot matching.
Next Steps
Schedule Mapper is your go-to tool for precise scheduling. Once you’ve found a suitable time, use the Event Details page to add session details and finalize the booking. For visual availability matching, check out our guide on Time Blocks.
If you need assistance, don’t hesitate to contact our Support Team—we’re here to help!