A guide to creating, editing, and managing events on your Calendar.

Schedule in Seconds, Not Minutes
Select event type, participants, and time with ease
Preview tutor availability instantly
Add notes directly while creating events
Overview
Scheduling a session in Evallo’s Calendar is an intuitive process, but for first-time users, understanding the Event Details page is key to making the most of it. This guide will help you navigate the screen, fill in the required fields, and successfully schedule a session that syncs with all attendees’ calendars.
Starting from the Weekly View
The process begins on the Weekly View of your Calendar. Let’s say you want to schedule a session on January 22nd at 5:00 PM:
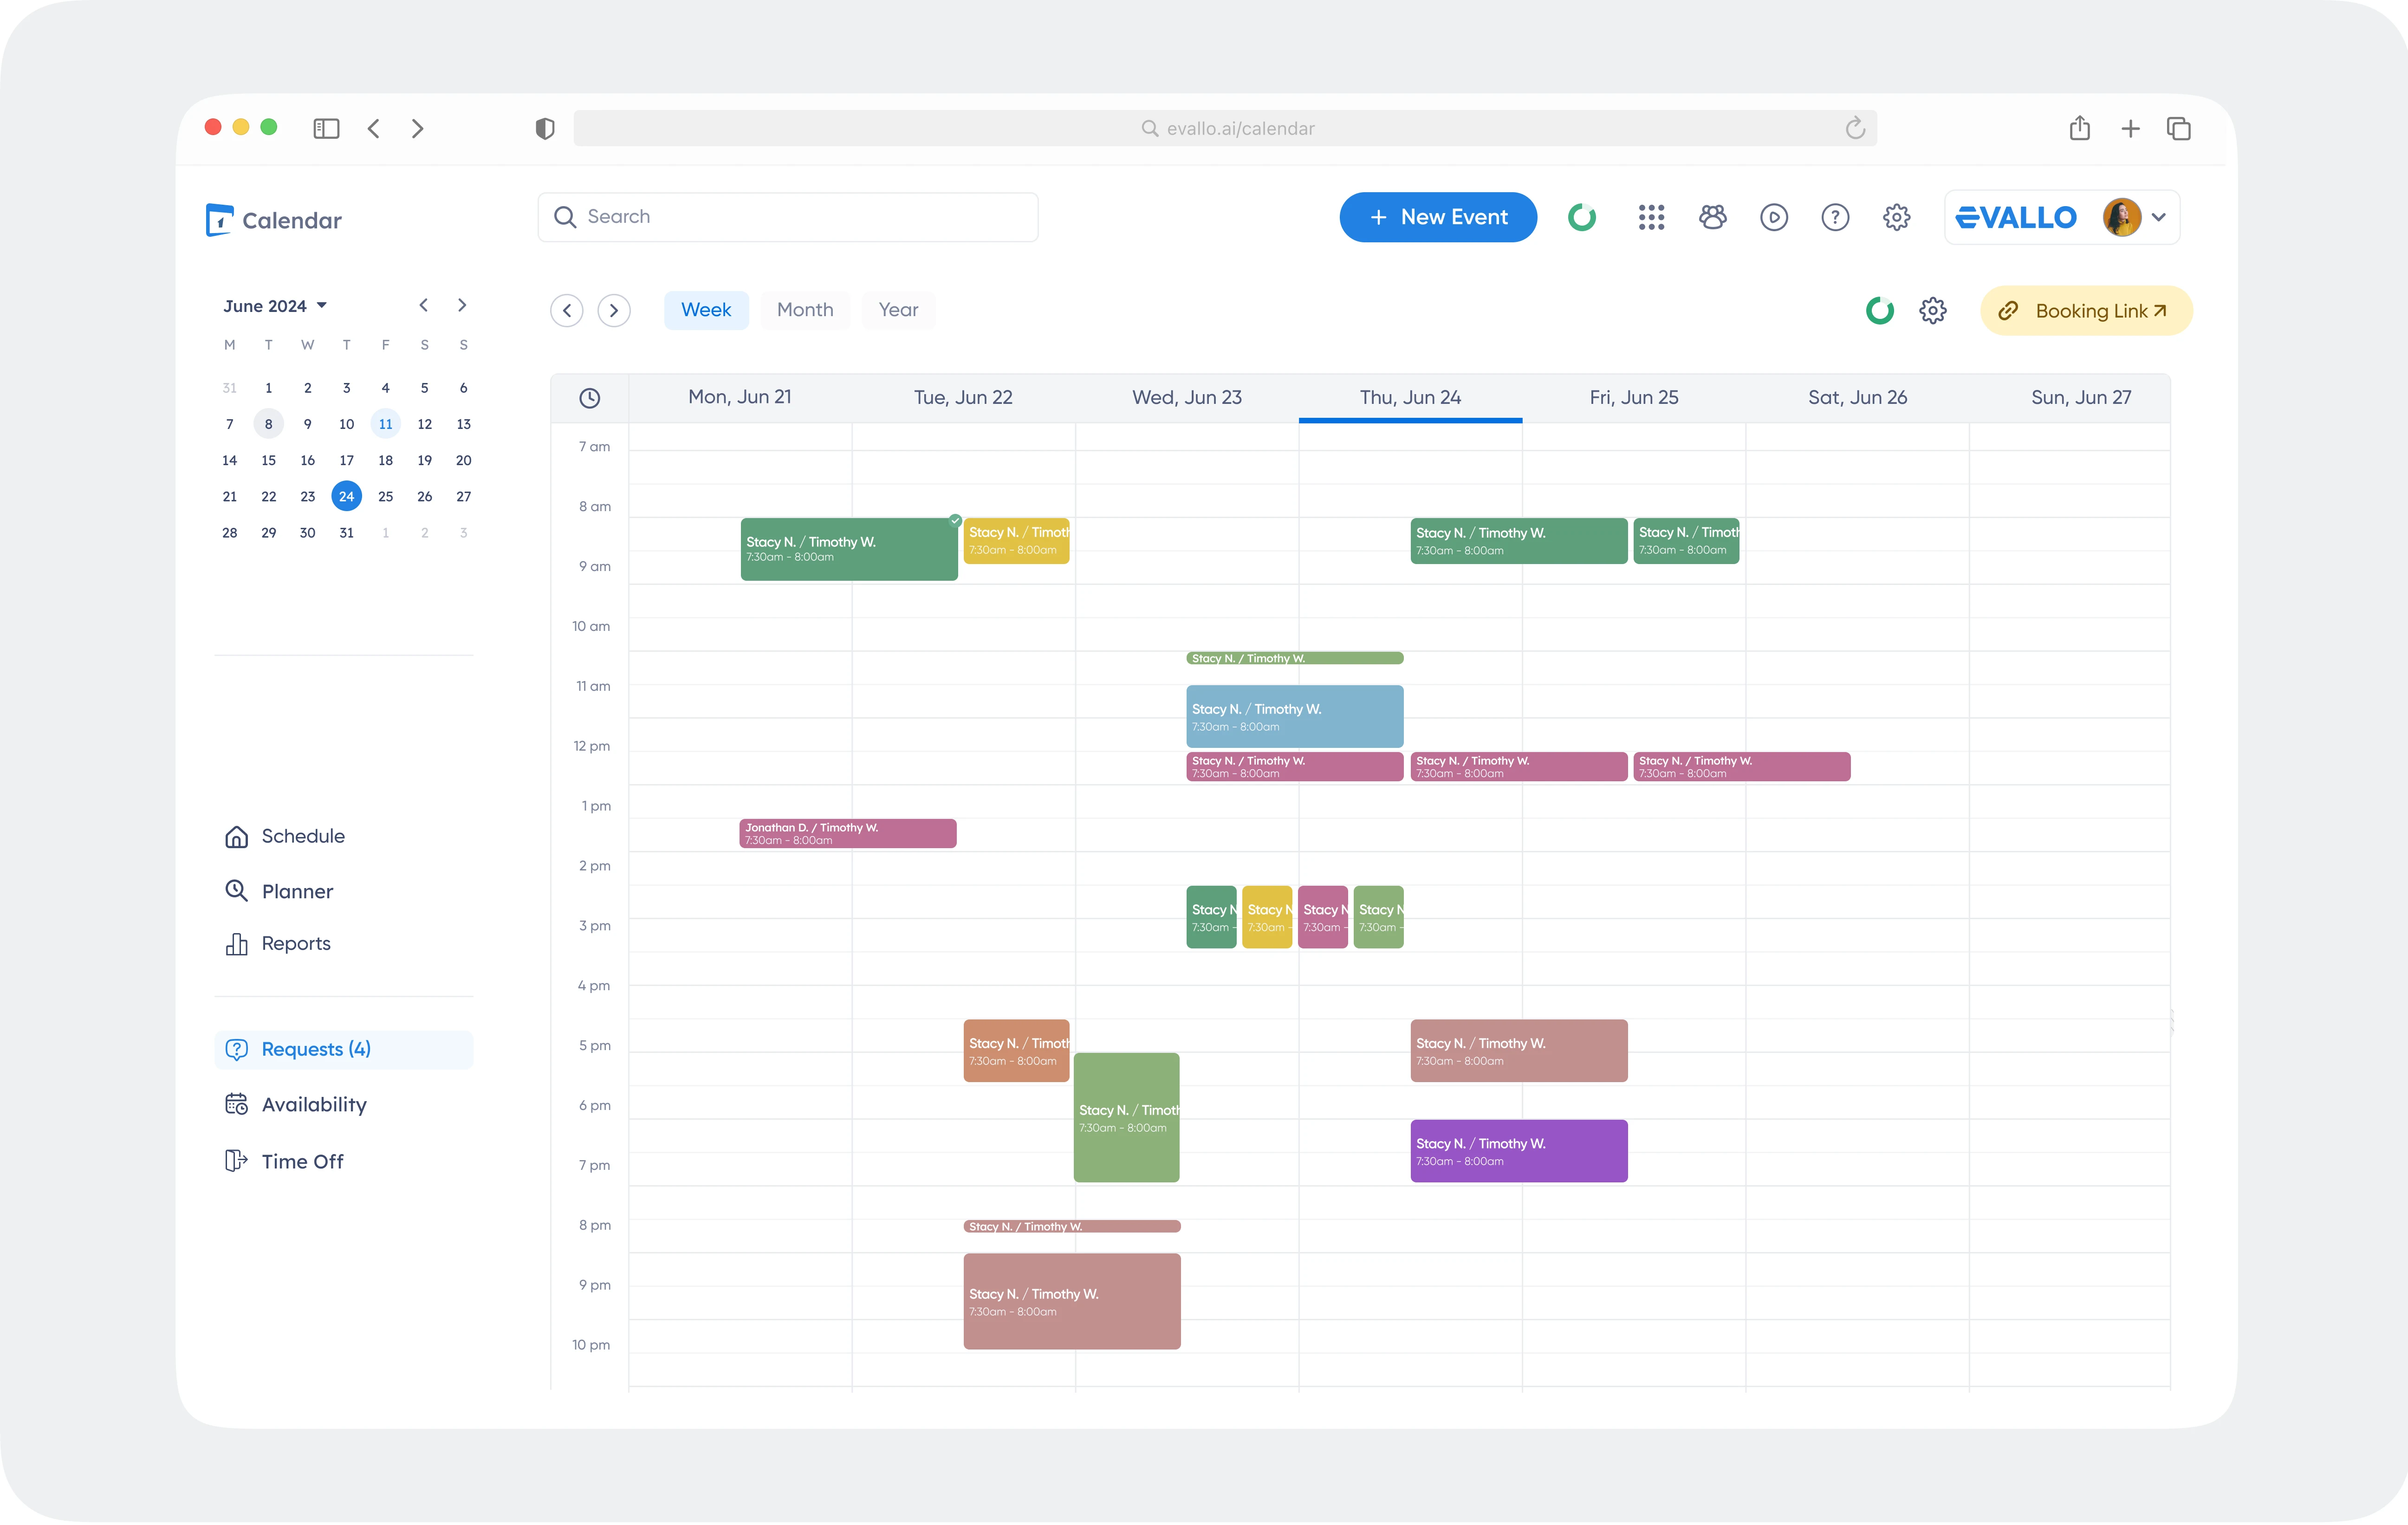
Locate the blank space on the Calendar corresponding to the desired date and time.
Click on that space, and the Event Details page will open.
This is where you’ll input all the necessary details for your session. By default, the event type is set to Session, but you can select other event types like Consultation, Internal Meeting, or Office Hours from the tab menu on top-left. Booked meetings, however, appear directly on the Calendar when scheduled via a booking link and cannot be selected manually.
Filling Out the Event Details
The Event Details page is designed to gather all the necessary information about your session in one place. Let’s go through each section step by step:

1. Set the Date, Time, and Recurrence
The date and time you clicked on will be pre-filled. Adjust them as needed by selecting the start date, end date, start time, and end time.
Ensure the time zone is accurate for all participants.
Recurring Sessions:
If the session will repeat, check the
Recurring box.Select a frequency: Daily, Weekly (default), Bi-weekly, or Monthly.
For weekly or bi-weekly sessions, choose specific days of the week (e.g., Monday, Wednesday).
For monthly sessions, select a date using the mini-calendar.
Add an end date—this is mandatory for all recurring sessions.
2. Add Participants 👥
A session isn’t complete without attendees. Here’s how to add them:
Student or Student Group:
Select a studentfrom the dropdown menu. If you have many students, use the search bar to find them.To schedule for a group, select the group from the dropdown. (Groups must be created beforehand. Learn how to create a student group.)
If the student isn’t yet on the platform, you’ll need to invite them here before scheduling.
Tutor:
By default, your name will be selected. If another tutor is leading the session, select their name from the searchable dropdown.
3. Select the Location and Meeting Platform
Location:
The location set in your Account Settings will appear here by default.
You can select from available locations or choose the "Online" option for virtual sessions. (Note: New locations must be added in Account Settings prior to scheduling.)
Meeting Platform:
Choose between Google Meet, Zoom, or Microsoft Teams—only if these platforms are integrated with your account.
Alternatively, you can add a custom meeting link by clicking on Add Meeting Link.
4. Define the Session’s Purpose
To ensure clarity for all participants, define the session’s purpose by selecting:
Service: Choose the service being provided (e.g., Math Tutoring).
Topic: After selecting the service, choose a related topic from the dropdown (e.g., Algebra, Geometry).
Additionally, you can add a Whiteboard Link if you plan to use an online whiteboard for collaboration .
5. Configure Notifications
Evallo allows you to send automated reminders to participants:
Select the notification timing: None, 30 minutes, 1 hour, 6 hours, 12 hours, or 24 hours before the session.
Choose recipients by checking the boxes for students, parents, or tutors.
6. Add Final Details
Lastly, finalize the session by completing these optional fields:
Session Status:
Default: Scheduled.Other options: Tentative, Completed, No-Show, or Canceled. (Completed and No-Show are only available for past sessions.)
Session Tags: Quickly categorize the session with tags like "Test Prep" or "Grammar Review."
Session Notes:
Add Internal Notes for team members only.
Add Shared Notes for feedback visible to all attendees.
Add Personalized Notes for individual participants.
Invoicing and Payroll:
The session price is automatically pulled from the tutor’s profile for the selected service.
Set the tutor cost to track payroll details.

Support

Was this article helpful?
Yes
No